

Skip Port Forwarding: Remote Viewing Setup for Homeowners
Yes, you can view your cameras or DVR from anywhere. Most modern systems support a vendor cloud or peer-to-peer (P2P) connection you can activate in minutes, no networking skills required. If your device lacks that, the manual route works: assign a static local IP, forward the right ports on your router, and add a DDNS hostname so remote access survives your changing public IP. Either way, change default passwords and enable HTTPS before you open anything to the internet.
TL;DR:
- Using vendor cloud or peer-to-peer connections simplifies remote access, avoiding complex router setup and the risk of ISP-level NAT blocks.
- For manual setup, assigning a static local IP and mapping distinct external ports prevent silent disconnections caused by DHCP or port conflicts.
- Testing ports externally with tools like canyouseeme.org is essential before relying on port forwarding, especially on networks with CG-NAT.
- Always secure your system by changing default passwords, enabling HTTPS, and updating firmware, and consider VPNs as a safer alternative to port forwarding.
- Keeping a secure record of network settings and credentials ensures quick recovery when remote access issues occur.
Table of Contents
- What Do You Need Before Starting Your Remote Viewing Setup?
- How Do You Configure Static IPs and Port Forwarding for Remote Viewing?
- How Do You Add Your Cameras to Mobile and Desktop Apps?
- Why Won’t Your Remote Camera Connect (and How Do You Fix It)?
- Why Trust This Setup Guide?
- What’s Your Backup Plan If Remote Access Fails?
- Cloud, Manual, or Professional Help: Which Fits You?
- Get Equipment Built for Simple, Secure Remote Access
- Sources
What Do You Need Before Starting Your Remote Viewing Setup?
Rushing into a remote viewing setup without prepping first is how people end up locked out of their own router at midnight. Spend ten minutes gathering the following, and the rest of the process moves fast.
- Confirm your device supports remote access. Check your DVR, NVR, or camera’s spec sheet or settings menu for “cloud,” “P2P,” or “remote access” features, and note the exact model number.
- Write down the device’s local IP address, gateway, and default ports. These live in the network settings menu, usually under “TCP/IP” or “Network.”
- Get your router’s admin login. It is often printed on a sticker on the router itself, or in the router brand’s app. You will need a laptop connected to the same network (LAN) to make changes.
- Decide between cloud/P2P and manual setup. If you are going cloud, create the vendor account now so it is ready when you need it.
- Back up your current credentials and note your firmware version. If a firmware update is available, you will want to know your starting point before you touch anything else.
Pro Tip: Take a photo of your device’s network settings screen with your phone before changing anything. If a setting gets fat-fingered halfway through, you have a reference to undo it fast instead of guessing.
How Do You Configure Static IPs and Port Forwarding for Remote Viewing?
This is the part that intimidates people, and it shouldn’t. Setting up remote viewing manually comes down to three moves: lock down the device’s address, tell your router where to send incoming traffic, and give that traffic a stable name to find.
- Assign a static local IP to your recorder or camera. Pick an address outside your router’s DHCP pool (check the DHCP range in router settings, then choose something above or below it). This matters because DHCP can reassign addresses on reboot, which silently breaks your port forwarding rules weeks later.
- Create port forwarding rules in your router. You are forwarding a handful of ports depending on your brand: Reolink devices typically use port 9000 for the basic service, 80 for HTTP, and 1935 for RTMP, while Dahua-based systems commonly use HTTP 80, RTSP 554, and TCP 37777. Hikvision equipment generally needs ports 80, 443, 554, and 8000 forwarded, per Hikvision-specific port forwarding guidance. Match protocol type (TCP or UDP) to what your manual specifies. If you run more than one recorder on the same public IP, map each device to a distinct external port so the rules don’t collide.
- Test the ports from outside your network. A site like canyouseeme.org checks whether your forwarded ports are actually reachable from the public internet, and Digital Watchdog recommends this exact test before assuming anything is broken on the device side.
- Set up DDNS. Residential internet plans rarely include a fixed public IP, so a DDNS service assigns a hostname that updates automatically when your IP changes, keeping your remote connection alive without manual intervention.
Some readers will hit a wall no port forwarding rule fixes: ISP-level CG-NAT blocks inbound connections entirely, a common and frustrating obstacle on many cable and mobile broadband plans. If port testing consistently fails despite correct rules, call your ISP and ask directly whether you’re behind CG-NAT. If so, your options are a vendor cloud/P2P connection, a VPN, or asking your provider for a static public IP (sometimes a paid add-on).
How Do You Add Your Cameras to Mobile and Desktop Apps?
Once the network side works, connecting your phone or laptop to the feed is the easy part, assuming you know which fields the app actually wants.
For manual setups, the app will ask for your public IP address or DDNS hostname, the port number, your username and password, and sometimes a device channel or ID number. Fill these in exactly as configured in your router, since a typo in the port field is the single most common reason a working setup “doesn’t connect” on the app.
Cloud or P2P setups skip almost all of that. You typically scan a QR code on the device, enter a device ID, or just log into your vendor account, and the platform handles the connection without router changes, which is why most vendors push this option for non-technical customers now.
A few practical notes for testing:
- Older systems sometimes rely on ActiveX for browser access, which modern browsers like Chrome and Edge no longer support well; use the vendor’s dedicated app or a browser plugin they explicitly recommend instead.
- Always test using mobile data, not your home Wi-Fi. Testing from inside your own network can succeed even when the outside world can’t connect, because your router handles local traffic differently than it does traffic from the internet.
- If the app times out, check the device’s connection log before assuming your ports are wrong. Sometimes the device itself lost its network handshake.
Why Won’t Your Remote Camera Connect (and How Do You Fix It)?
Most remote viewing failures trace back to one of five causes, and working through them in order saves you from re-checking the same setting three times.
- Verify local access first. Connect to the camera or DVR from a device on the same Wi-Fi network. If that fails, the problem is on the device or local network, not your port forwarding.
- Recheck the static IP. If the device somehow reverted to DHCP, its address may have changed and your forwarding rule now points nowhere.
- Run the external port check. Use canyouseeme.org or a similar tool for every port you forwarded. A “closed” result usually means either the router rule is wrong or your firewall is blocking it.
- Look for port conflicts. Two devices trying to use the same external port will fail silently on one of them, so give each recorder its own dedicated port mapping.
- Rule out CG-NAT. If everything checks out on your end and the port still shows closed externally, your ISP may be blocking it at the network level.
Once access works, lock it down:
- Change every default username and password immediately, especially “admin/admin,” which remains the most exploited credential pair in surveillance systems.
- Enable HTTPS if your device supports it, so your video stream and login aren’t sent in plain text.
- Update firmware regularly. Vendors patch known vulnerabilities through firmware updates, and skipping updates leaves old exploits open indefinitely.
- Turn off UPnP once you’ve confirmed manual port forwarding works. UPnP opens ports automatically, and that convenience is exactly what makes it risky long-term.
- Forward only the ports you actually need, nothing extra “just in case.”
Pro Tip: If your router supports it, set up a VPN server instead of forwarding camera ports directly. You get remote access to your whole home network through an encrypted tunnel, and no camera port is ever exposed to the open internet.
Why Trust This Setup Guide?
Safes and Security Solutions builds and sells the surveillance hardware homeowners and small business owners install, which means these steps reflect how the equipment actually behaves in real router and ISP conditions, not just theory. If you’re still choosing hardware, our guide on setting up a home security camera system covers placement and wiring basics, and our breakdown of essential live camera features explains which models simplify remote access from the start. For a broader install walkthrough, see our step-by-step home surveillance guide.
What’s Your Backup Plan If Remote Access Fails?
Primary access breaks eventually. Routers get replaced, ISPs change IP assignment policies, firmware updates reset settings. Build a second path in before you need it.
The simplest backup is keeping both cloud/P2P and manual port forwarding configured simultaneously, even if you mainly use one. If your DDNS hostname stops resolving, the vendor cloud connection still gets you into live footage while you troubleshoot the network side.
A second option worth setting up is local network access through a VPN into your home or office router, which sidesteps camera-specific port rules entirely and gives you a fallback that doesn’t depend on the DVR’s own remote features working correctly.
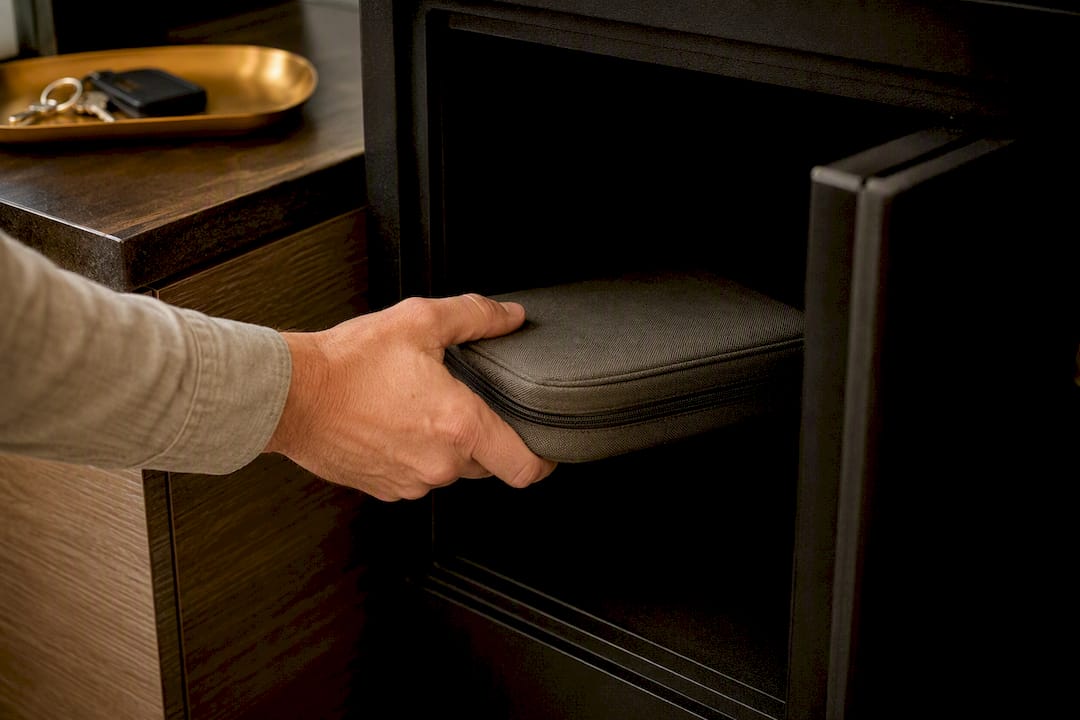
Finally, keep a written record, not just a memory, of your device’s static IP, port assignments, DDNS hostname, and login credentials somewhere secure but accessible. When something breaks at 11 p.m. and you’re troubleshooting from your phone, that five-minute reference save turns a frustrating night into a five-minute fix. Storing that record in a fireproof home safe alongside other critical documents isn’t overkill. It is the same logic that protects your passports and insurance papers.
Cloud, Manual, or Professional Help: Which Fits You?
For most homeowners, cloud or P2P is the right call. It sidesteps router complexity and CG-NAT entirely, and it’s how most vendors design their systems to be used today. Manual port forwarding suits people who want full control and don’t mind the security discipline it demands. If you’re managing multiple VLANs, a business network with compliance requirements, or several recorders on one connection, that’s when calling a professional installer stops being optional and starts being the responsible choice.
— Safes and Security Solutions
Get Equipment Built for Simple, Secure Remote Access
The fastest way to skip port forwarding headaches entirely is to start with hardware designed for it. Safes and Security Solutions carries cloud-enabled cameras and recorders that connect through vendor P2P services out of the box, so you’re not troubleshooting router firmware to check on your property from your phone. If you’d rather have someone else handle the network side, our team offers installation support and phone consultations to configure port forwarding, DDNS, or VPN access correctly the first time. And since remote viewing is only half the security picture, pairing your camera system with a fire-resistant safe like the American Security BFS2214 Burglary and Fire Safe covers what a camera can’t: physical protection for the documents, cash, and valuables a lens never reaches. Reach out through our site to get a quote or book an installation consultation today.
Sources
- Port Forwarding Simplified – Digital Watchdog Knowledge Base
- How to Port Forward CCTV DVR (Step-by-Step Guide)
- How to Do Port Forwarding for Hikvision NVR in 2026