

Avoid a Flooded Safe: In-Floor Safe Waterproofing in 3 Tiers
No. An in-floor safe is not waterproof on its own, and the concrete around it will not protect it either. If your site shows any signs of moisture, from a musty basement smell to a sump pump that runs weekly, you need to waterproof the cavity itself. Low-risk sites can get by with a solid Good-tier build; anything with standing water history or a high water table needs the Better or Best approach.
TL;DR:
- Moisture and hydrostatic pressure are common in basements and slabs, making waterproofing essential for safe cavity integrity.
- High-risk sites with frequent sump pump operation, standing water, or past flooding require the Most resilient vapor liner and comprehensive tanking.
- A layered approach including gravel base, rubber mat, tanking slurry, and vapor liner prevents water intrusion and ensures redundancy.
- Proper sequencing and skipping critical steps, such as sealing seams or installing liners before pouring, greatly reduce failure risk.
- Using durable materials like 15-mil vapor liners, epoxy sealants, and waterproof admixtures significantly improves long-term safety.
Table of Contents
- What Causes In-Floor Safe Water Damage in Concrete?
- How Do You Know Your Risk Level for Moisture?
- Which Waterproofing Method Fits Your Safe Cavity?
- How Do You Install a Waterproofed Floor Safe Cavity?
- What Materials Actually Waterproof a Safe Cavity?
- How Do You Maintain a Waterproofed Floor Safe?
- When Should You Hire a Professional for This Job?
- Our Take on Where DIY Waterproofing Goes Wrong
- Get In-Floor Safe Installation Support From Safes and Security Solutions
- Sources
What Causes In-Floor Safe Water Damage in Concrete?
Concrete looks solid, but it’s riddled with microscopic capillaries that pull moisture from surrounding soil the same way a paper towel pulls water off a counter. This is normal behavior for a poured slab, and it’s exactly why floor safes need a deliberate moisture barrier instead of relying on the concrete alone. In basements especially, that slab sits directly against soil that’s often damp for months at a time, and every gallon of groundwater nearby is a potential intruder into your safe’s cavity.
Most homeowners conflate two very different problems: damp-proofing and waterproofing. Damp-proofing resists water vapor, the slow seep of moisture through material. Waterproofing stops liquid water under pressure, which is a much tougher job. A basement wall coated with tar-based damp-proofing might handle ambient humidity fine but fail completely the moment groundwater pushes against it with any real force.
That force has a name: hydrostatic pressure. It builds when water in the soil around your foundation has nowhere to go and starts pressing inward and upward against anything in its path, including the walls of a safe cavity you’ve just cut into the slab. Here’s the part contractors don’t always explain clearly: cutting into a slab to install a floor safe doesn’t just create a hole, it breaks the continuous vapor and moisture protection the original pour may have had. You’re creating a new weak point in a system that was, at best, only designed to resist vapor in the first place.
That gap matters more than most installation guides let on. A few realities worth sitting with before you start cutting concrete:
- Concrete is permeable by design, not by defect. It’s meant to breathe somewhat, which is fine for a slab but a liability for a safe cavity holding cash, jewelry, or documents.
- Damp-proofing coatings (asphalt emulsions, some paints) are rated for vapor resistance only. Applying them and calling the job “waterproof” is a common and costly mistake.
- Hydrostatic pressure increases with water table height and seasonal rainfall, so a cavity that stayed dry in October can flood in April.
- Any seam, joint, or new pour interface is a potential failure point unless it’s specifically sealed against liquid water under pressure, not just moisture vapor.
Understanding this distinction changes how you shop for materials. When a product label says “damp-resistant,” that’s a different promise than “waterproof,” and for a safe cavity, only the second one counts.
How Do You Know Your Risk Level for Moisture?
Not every home needs the same level of protection. A safe going into a slab-on-grade home in a dry climate faces a very different reality than one going into a basement with a history of spring flooding. Sorting your site into a risk tier first saves you from either overbuilding an unnecessary vapor fortress or underbuilding a cavity that fails in year two.
Here’s how to size up your own risk level before you commit to a method:
- Walk your basement or crawlspace and use your nose first. A persistent musty smell almost always means moisture is already present in the concrete or surrounding soil, even without visible water.
- Look for efflorescence. That white, chalky residue on concrete or block walls is mineral deposit left behind after water has moved through and evaporated. It’s a reliable sign that liquid water has been passing through the material, not just humidity.
- Check your sump pump log, if you have one. A pump that cycles daily during wet months signals a high water table nearby. One that runs a few times a year after major storms suggests moderate risk.
- Ask about flood history for the property and the block. Many local governments and title records note past flood claims, and neighbors who’ve lived there longer often remember the wet years.
- Use a moisture meter on the slab if you want a number instead of a guess. Pin-type or pinless meters give you a moisture percentage reading that’s far more objective than a sniff test.
If you’re seeing no smell, no efflorescence, and a sump pump that rarely runs, you’re likely low risk and a Good-tier build will serve you fine. Musty odor with occasional pump activity puts you in medium risk territory, where Better-tier tanking earns its cost. Standing water history, high water table, or a sump pump running weekly year-round means high risk, and that’s where the Best-tier build with a full vapor liner stops being optional.
Statistic Callout: Basements are consistently cited by building professionals as the most moisture-prone part of a home’s structure, largely because they sit below grade and in direct, sustained contact with soil moisture that upper floors never encounter.
The cost curve tracks risk closely. Good-tier materials run a modest add to your safe purchase. Better-tier tanking slurry or epoxy roughly doubles material cost and adds a day to the timeline for curing between coats. Best-tier vapor lining adds the most material cost but is cheap insurance against a five-figure loss if valuables sit in a flooded cavity for even a few hours.
Which Waterproofing Method Fits Your Safe Cavity?
Once you know your risk tier, the method choice gets a lot simpler. Think of these as three levels of redundancy, each one layering additional defense against the same enemy: liquid water finding its way into a sealed hole in your floor.
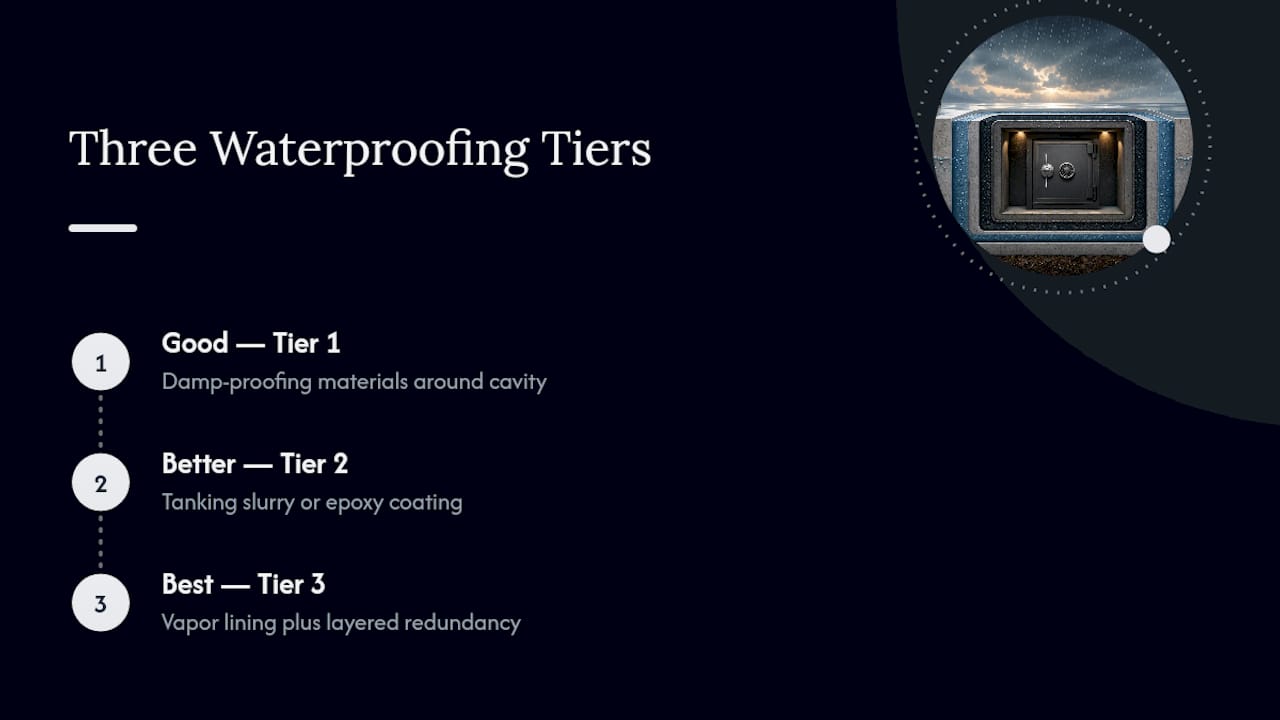
Good: gravel base, rubber mat, waterproof concrete
This is the baseline every in-floor safe installation should meet, regardless of risk level. A layer of compacted gravel at the bottom of the cavity gives any incidental moisture somewhere to go instead of pooling directly under the safe. A heavy rubber mat sits above the gravel, adding a physical barrier between the safe’s underside and any moisture that does reach the gravel bed. The safe then gets set and surrounded with a waterproof concrete mix rather than standard ready-mix, since waterproofing admixtures reduce the concrete’s own capillary absorption.
- Works well for low-risk sites with no history of moisture intrusion
- Costs the least and adds minimal time to a standard installation
- Provides drainage and a physical barrier, but no chemical seal against sustained hydrostatic pressure
Better: add tanking slurry or epoxy sealant
This tier builds on Good by adding a cementitious tanking slurry or epoxy sealant applied directly to the excavated cavity walls before the safe goes in. Practical installation guides recommend applying at least two coats of tanking or epoxy sealant to create a seamless interior “tub” that liquid water can’t easily penetrate, even under moderate pressure. This is where damp-proofing thinking has to give way to true waterproofing thinking, since a single coat behaves more like the former than the latter.
- Suited to medium-risk sites with occasional dampness or seasonal groundwater movement
- Adds real labor and cure time between coats, typically a day or more
- Creates a genuine chemical barrier, not just a physical or drainage-based one
Best: puncture-resistant vapor liner plus tanking and sealed pour
For high-risk sites, the vapor liner is what separates a safe that survives a flood from one that doesn’t. A heavy-duty liner, ideally 15 mils or thicker, gets folded (never cut) at the corners to avoid creating puncture points, then extended several inches above the floor line before the final pour. Combined with tanking slurry underneath and a sealed collar seam on top, this creates layered redundancy: drainage, physical barrier, chemical barrier, and membrane, each covering the failure points the others might miss.
- Necessary for basements with prior flooding, high water tables, or sump pumps running weekly
- Highest material cost and longest install time of the three tiers, but by far the most resilient
- The liner’s fold-not-cut detail at corners is the single most commonly botched step in DIY installs
Pro Tip: Don’t mix tiers halfway. A vapor liner without tanking slurry underneath leaves the concrete itself absorbing water right up to the liner’s edge, which defeats much of the purpose of installing the liner in the first place.
How Do You Install a Waterproofed Floor Safe Cavity?
Sequencing matters as much as material choice here. Skip a step or do it out of order, and even premium materials won’t perform the way they’re supposed to.
- Scan before you cut anything. Run a utility locator over the area and check for post-tension cable slabs. If you find tensioned cables or can’t confirm their absence, stop and call a professional. Cutting a post-tension cable can cause a violent, dangerous release of stored energy.
- Confirm manufacturer clearances. Every safe model has minimum cavity dimensions specified by the manufacturer, and waterproofing layers add thickness you need to account for before you start excavating.
- Size the excavation with the waterproofing layers included. Add roughly two to three inches of extra depth and width beyond the safe’s footprint to accommodate gravel, mat, tanking, and liner without cramming any layer.
- Lay and compact the gravel base. This gives displaced moisture somewhere to drain rather than pooling directly beneath the safe.
- Set the rubber mat over the compacted gravel.
- Apply tanking slurry or epoxy sealant to the cavity walls, and for high-risk sites, install the folded vapor liner over the cured sealant, extending it above the future floor line.
- Set the safe into position, checking level in both directions before you pour anything.
- Pour the waterproof concrete mix around the safe, tamping as you go to remove trapped air pockets that would otherwise become weak points.
- Seal the collar seam, the joint where the safe’s top lip meets the surrounding floor, with hydraulic cement, which expands slightly as it cures for a genuinely watertight bond.
- Let everything cure fully before use, typically 24 to 48 hours depending on the products used, and check the collar seam for any hairline gaps once cured.
| Step Stage | Primary Risk If Skipped | Cure/Wait Time |
|---|---|---|
| Utility and post-tension scan | Cable strike, injury, structural damage | None; must complete first |
| Gravel base and rubber mat | No drainage path, moisture pools under safe | None; proceed immediately |
| Tanking slurry or epoxy coats | Liquid water penetrates cavity walls under pressure | 24 hours between coats |
| Vapor liner installation | Punctures at corners defeat the barrier | None; proceed to pour |
| Collar seam sealing with hydraulic cement | Water enters through the top seam, the most common failure point | Sets within minutes, cures over hours |
For the mechanics of clearances and floor-type compatibility, our full installation guide walks through anchoring alongside the waterproofing sequence, and if you’re also bolting the unit down, securing a safe on different floor types covers the hardware side in more depth.
What Materials Actually Waterproof a Safe Cavity?
Not all products marketed for concrete work are built for the same job, and picking the wrong one is how a Better-tier budget ends up performing like a Good-tier build.
- Vapor barrier liners: Look for 15-mil thickness or greater with genuine puncture resistance, folded rather than cut at corners, and extended several inches above the finished floor line.
- Cementitious tanking slurry: A cement-based coating applied in a minimum of two passes, designed specifically to resist liquid water under hydrostatic pressure rather than just vapor.
- Epoxy sealants: An alternative or complement to tanking slurry, forming a continuous film across the cavity walls; check the manufacturer’s data sheet for cure time and pressure resistance ratings.
- Waterproofing admixtures: Mixed into the concrete itself, these reduce capillary water absorption in the cured slab rather than relying on a surface coating alone.
- Hydraulic cement: Used specifically at the collar seam because it expands as it sets, closing gaps that ordinary mortar would leave open.
- Polyurethane floor membranes: For above-grade finish work near the safe, systems like Sikafloor Merflex PS install at roughly 92 to 98 mils and provide a seamless, crack-bridging surface, but they require a compatible top coat and should be finished according to the manufacturer’s technical guidance.
How Do You Maintain a Waterproofed Floor Safe?
Even a well-built cavity benefits from periodic checks, since seals degrade and site conditions change over years, not days.
- Inspect the collar seam and visible floor surface twice a year, ideally once before and once after your region’s wettest season.
- Watch for new efflorescence, discoloration, or a musty odor near the safe, all early warning signs that moisture is finding a way in.
- Use a dehumidifier canister or silica gel packs inside the safe itself, since even a well-sealed cavity carries ambient humidity that can affect documents and metal contents over time. Dedicated safe dehumidifier options are worth the small investment for this reason alone.
- If you spot rust streaks, a swollen door seal, or standing water on opening the safe, treat it as an active failure, not a wait-and-see situation, and address the seam or liner promptly.
- Consider a mechanical lock over an electronic one in persistently damp basements, since electronic components are more vulnerable to long-term humidity exposure than a mechanical dial.
Pro Tip: Check silica packs or dehumidifier canisters on the same schedule as your smoke detector batteries. Tying maintenance tasks together is the easiest way to actually remember them.
When Should You Hire a Professional for This Job?
Some conditions turn this from a weekend project into a job for a licensed contractor or structural engineer, and skipping that step isn’t a shortcut worth taking.
- Any confirmed or suspected post-tension slab. These slabs contain steel cables under enormous tension, and cutting one without professional detection and planning has caused serious injuries in construction settings.
- Unclear rebar location or utility lines in the intended cavity area. A proper scan before cutting is non-negotiable, not optional prep work.
- High water table, active adjacent drainage systems, or a documented prior flood at the property. These sites need waterproofing specialists who work with hydrostatic pressure daily, not a one-time DIY attempt.
- Local permit requirements for structural slab modifications. Some jurisdictions require permits for cutting into a foundation slab, and skipping that step can complicate insurance claims later.
- Homeowner’s insurance implications. Ask your carrier whether unpermitted structural work affects coverage before you start, especially in a basement prone to water events.
Our Take on Where DIY Waterproofing Goes Wrong
The most common mistake we see isn’t a bad product choice, it’s sequencing. Homeowners buy a quality vapor liner and then cut corners on the collar seam, or they pour waterproof concrete without ever sealing the cavity walls first, assuming the admixture alone will do the job. Redundancy is the entire point of a tiered approach: no single layer is meant to carry the whole burden alone.
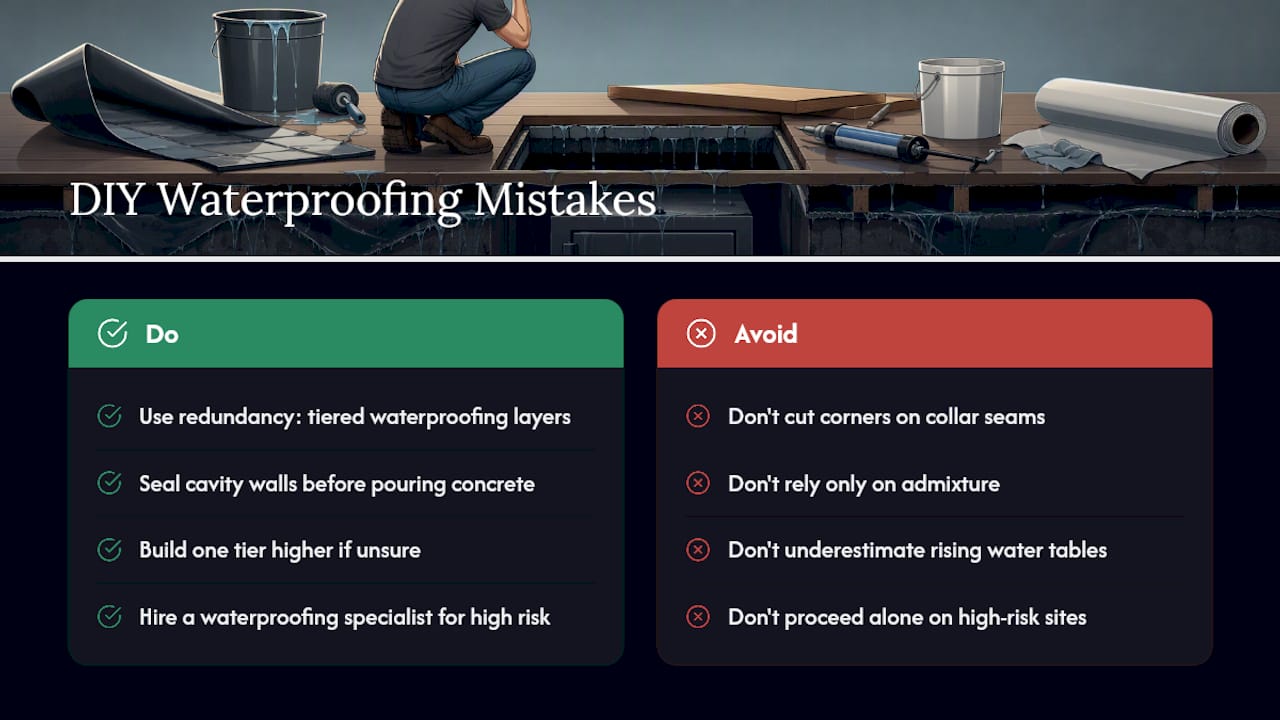
The second mistake is underestimating risk class. A basement that’s stayed dry for five years can still sit on a rising water table, and the cost difference between Better and Best tiers is small compared to what a single flood event does to cash, documents, or jewelry. When in doubt, build for the risk one tier higher than your gut tells you.
Our installation resources exist because we’ve watched too many good safes fail from bad cavity prep, not bad hardware. If your site shows any high-risk signs, that’s the moment to bring in a waterproofing specialist rather than push forward alone.
— Safes and Security Solutions
Get In-Floor Safe Installation Support From Safes and Security Solutions
Safes and Security Solutions carries in-floor safes built for exactly the tiered waterproofing approach outlined above, along with the fire-resistant and burglary-resistant models homeowners pair with a properly sealed cavity. You’re not just buying a steel box; you’re getting product specs matched to real installation conditions, whether your site calls for a Good-tier build or the full vapor-liner treatment.

Every listing includes clearance dimensions, weight, and lock type so you can plan your excavation and waterproofing layers before the safe ever arrives. Warranty coverage backs the hardware itself, and our team can walk you through which tier fits your basement’s risk profile before you commit to a purchase. If you’re deciding between a floor safe and a wall-mounted alternative for a damp space, our comparison of wall safes versus floor safes is worth a read first. Ready to move forward? Browse in-floor safe options and get in touch for installation guidance suited to your specific site conditions.
Sources
- How to Install a Floor Safe in a Basement with High Moisture — SureLockKey blog
- Damp proofing vs waterproofing: what is the difference? — Rawlins Paints
- Sikafloor® Merflex PS — Sika USA