

How to Install Surveillance Cameras: 2026 DIY Guide
TL;DR:
- Properly installing surveillance cameras involves careful placement, secure mounting, and system configuration. Testing indoors before mounting saves time and prevents hardware issues, while mounting at 2.5–3 meters provides optimal facial detail and vandal resistance. Securing the system by changing default passwords and verifying settings ensures privacy and reliable footage.
Installing surveillance cameras means selecting the right locations, mounting hardware securely, running cables or configuring Wi-Fi, and locking down your system with strong credentials. Done correctly, a DIY camera setup gives homeowners and small business owners real-time visibility over every entry point on their property. This guide covers how to install surveillance cameras using 2026 best practices, from tools and placement to wiring, configuration, and testing. PoE (Power over Ethernet) systems and proper mounting heights of 2.5–3 meters are the two standards that separate effective installs from ones that fail within months.
What tools and materials do you need to install surveillance cameras?
The right tools make the difference between a clean install and a frustrating one. Gather everything before you start, because stopping mid-job to find a drill bit wastes time and increases the chance of mistakes.
Basic tools you need:
- Power drill with masonry and wood bits
- Phillips and flathead screwdrivers
- Tape measure and pencil
- Level (for straight bracket alignment)
- Ladder rated for your working height
- Fish tape or cable snake for routing through walls
Cables and hardware:
- Cat6 Ethernet cable for PoE systems (rated for outdoor use if running externally)
- Outdoor-rated conduit for exposed cable runs
- Mounting brackets and tamper-resistant screws
- Plastic anchors for drywall or masonry anchors for brick and stucco
Accessories and safety items:
- Cable clips and zip ties for neat runs
- Silicone sealant for exterior penetrations
- Cable tester to verify continuity before mounting
- Safety glasses and work gloves
| Item | Purpose |
|---|---|
| Cat6 PoE cable | Carries power and video over a single cable run |
| Silicone sealant | Seals wall penetrations against moisture |
| Cable tester | Confirms signal before cameras are mounted |
| Masonry anchors | Secures brackets to brick, stucco, or concrete |
| Outdoor conduit | Protects exposed cable from UV and physical damage |
Pro Tip: Buy 15–20% more cable than your measurements suggest. Walls rarely run in straight lines, and you need slack loops at each camera head.
How should you plan camera placement and system layout?
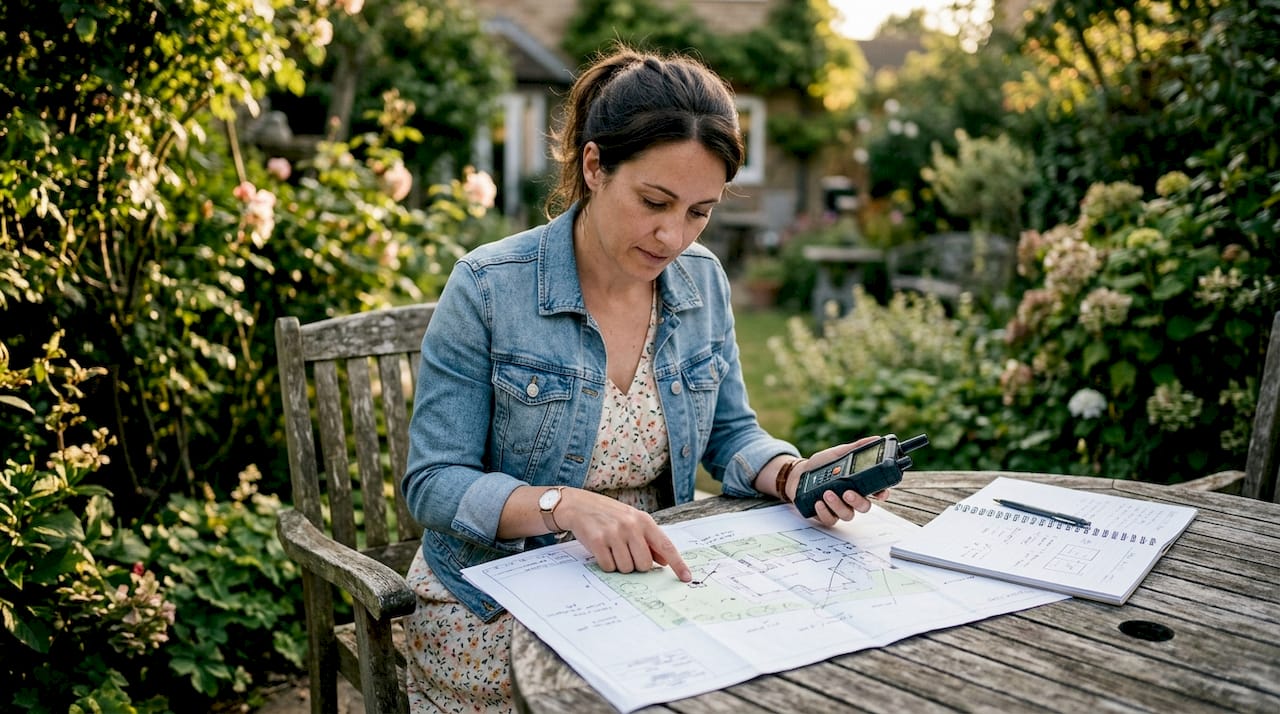
Poor planning is the primary cause of system failure, not hardware defects. Before you drill a single hole, spend 30 minutes walking your property and sketching a map of every entry point, blind spot, and cable route.
Prioritize these locations first:
- Front door and main entry
- Driveway and garage
- Back door and rear yard
- Side gates and secondary entries
- Cash registers or stock rooms for small businesses
Outdoor cameras mount best at 2.5–3 meters above ground. That height captures clear facial detail while staying out of easy reach for vandals. Mounting above 3.5 meters reduces facial detail significantly, so higher is not always better. Doorbell cameras are the exception, mounting at approximately 1.2 meters to capture faces at eye level.
Avoid pointing cameras directly into the sun or toward reflective surfaces. Glare washes out footage and makes it useless for identification. Check your camera placement angles at different times of day before committing to a position.
For wireless cameras, Wi-Fi signal strength at each planned location needs to reach at least -70 dBm for reliable connectivity. Weak signals cause frequent disconnects and recording gaps. Test signal strength at each spot using your phone before finalizing placement.
Pro Tip: Draw your property map on paper and mark camera fields of view with a pencil arc. Overlapping coverage zones eliminate blind spots that criminals exploit.
Also check your local privacy laws before finalizing positions. Cameras that capture a neighbor’s yard or a public sidewalk in certain jurisdictions can create legal exposure. The legal side of camera placement is worth reviewing before you mount anything permanently.
Step-by-step guide for mounting and wiring surveillance cameras
Bench-test all equipment indoors before mounting anything outside. Connect each camera to your NVR or router, update firmware, set passwords, and confirm image quality while you are still at a desk. This single step eliminates the most common source of frustration: discovering a defective camera after it is already bolted to a wall.
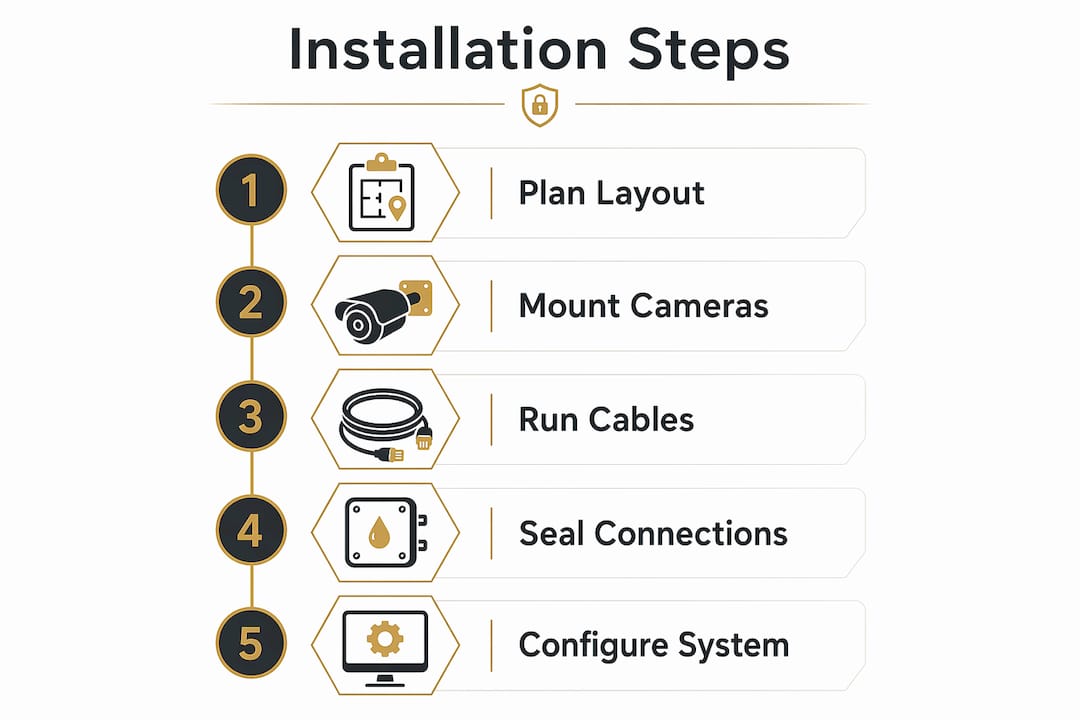
Follow these steps for each camera:
- Hold the mounting bracket against the surface and mark the screw holes with a pencil.
- Drill pilot holes using the correct bit for your surface (wood, drywall, or masonry).
- Insert anchors if needed, then attach the bracket with tamper-resistant screws.
- Route your cable through the wall or along the surface using clips or conduit.
- Leave a 15 cm slack loop at the camera head to allow for angle adjustment.
- Connect the cable to the camera, then power on and check the live feed before final tightening.
- Aim the camera slightly higher than your target zone. Cameras settle 1–2 cm after mounting, and aiming slightly high compensates for this shift.
- Tighten all bracket screws and apply silicone sealant around any exterior wall penetrations.
Cable routing best practices:
- Keep PoE cables away from electrical wiring to avoid interference. Run them at least 30 cm apart where possible.
- Use outdoor-rated conduit for any cable exposed to direct sunlight or rain.
- Label each cable at both ends with the camera number before routing. You will thank yourself during troubleshooting.
For PoE systems, a single Cat6 cable carries both power and video up to 100 meters. That eliminates the need for a separate power outlet at each camera location, which is one of the biggest advantages of PoE camera wiring over analog setups.
Pro Tip: Seal every exterior cable hole with silicone sealant, even if the cable fits tightly. Water follows cables into walls and causes corrosion and short circuits over time.
How do you configure your surveillance system securely?
Configuration is where most DIY installs fall short. Getting cameras mounted is the visible part. Locking down the system is what actually keeps your footage private and your network safe.
Complete these steps immediately after connecting cameras:
- Change the default admin username and password on your NVR and each camera. Default credentials are a known vulnerability that attackers scan for constantly.
- Enable two-factor authentication on your mobile app and NVR web interface.
- Update firmware on all cameras and the NVR before going live.
- Set motion detection zones to cover only your property, not the street or a neighbor’s yard.
- Adjust motion sensitivity to reduce false alerts from trees, shadows, and passing cars.
For footage retention, set your NVR to record between 14 and 30 days. That window covers most insurance claim timelines and gives you enough history to review incidents without filling storage too fast.
Connect your system to a dedicated VLAN or guest network if your router supports it. This isolates your cameras from your main devices and limits the damage if a camera is ever compromised. For a detailed walkthrough of app setup and network configuration, the home security system setup guide from Safes and Security Solutions covers NVR pairing and remote access in depth.
Pro Tip: Write your admin credentials on paper and store them in a locked safe. Resetting a locked NVR often means losing all recorded footage.
How do you test and troubleshoot common installation issues?
Testing is not optional. A camera that looks correctly installed can still have a blind spot, a loose cable, or a motion zone that misses the actual entry point.
Run these checks after every install:
- View the live feed from outside your home network using mobile data. This confirms remote access works correctly.
- Walk through each camera’s field of view to trigger motion alerts. Verify that notifications arrive within 10 seconds.
- Check night vision by covering the camera lens briefly, then uncovering it in a dark area. The image should switch to infrared automatically.
- Confirm time stamps are accurate on all cameras. Incorrect time stamps make footage inadmissible in many insurance and legal contexts.
Common mistakes that cause problems:
- Mounting cameras too low, where they can be grabbed or redirected by hand
- Running cables without clips, causing sag and eventual disconnection
- Skipping the slack loop at the camera head, which stresses the connector over time
- Pointing cameras at reflective windows or glass doors
If your system has more than four cameras, involves complex cable runs through finished walls, or requires integration with an existing alarm system, a licensed low-voltage technician is the right call. DIY installation suits up to four cameras well. Beyond that, the complexity increases faster than most homeowners expect.
Review the most common installation mistakes before you finalize your setup. Catching errors at this stage costs nothing. Fixing them after the fact costs time, money, and potentially your footage.
Key Takeaways
A successful surveillance camera installation depends on thorough planning, correct mounting heights, secure configuration, and systematic testing before the system goes live.
| Point | Details |
|---|---|
| Plan before drilling | Map entry points and test Wi-Fi signal strength at each location first. |
| Mount at the right height | Outdoor cameras belong at 2.5–3 meters; doorbell cameras mount at 1.2 meters. |
| Bench-test before mounting | Configure firmware and passwords indoors to save time and catch defects early. |
| Secure your system | Change default credentials immediately and enable two-factor authentication. |
| Test thoroughly | Verify remote access, motion alerts, night vision, and time stamps after install. |
What I have learned from hundreds of camera installs
The single biggest mistake I see homeowners make is skipping the bench-test phase. They unbox cameras, climb a ladder, mount everything, and then discover a firmware conflict or a dead camera that requires the whole process in reverse. Testing indoors first, as pre-install bench testing confirms, cuts on-site troubleshooting time dramatically.
The second thing I have learned is that height matters more than angle. Most people focus on where to point the camera and forget that mounting it too low puts it within arm’s reach of anyone motivated to redirect or cover it. The 2.5–3 meter standard exists for a reason. It balances facial capture quality with vandal resistance in a way that no other height achieves as reliably.
Planning also separates good installs from ones that need to be redone within a year. I have seen systems where cameras faced direct afternoon sun, rendering afternoon footage completely useless. I have seen wireless cameras mounted in spots where the Wi-Fi signal dropped every time someone used the microwave. These are not hardware problems. They are planning problems, and they are entirely avoidable.
My honest advice: spend as much time planning as you do installing. Draw the map. Test the signal. Bench-test the hardware. The install itself, once you have done the prep work, goes faster than you expect.
— Safes and Security Solutions
Security cameras and solutions from Safes and Security Solutions
Safes and Security Solutions carries a full range of surveillance cameras and systems built for homeowners and small business owners who want reliable protection without hiring a full installation crew.
Every product listing includes specifications, mounting requirements, and compatibility details so you can match hardware to your property before you buy. The team at Safes and Security Solutions is available to answer pre-purchase questions and help you select the right system for your coverage needs. Whether you are setting up a two-camera front entry system or a full eight-camera PoE setup for a commercial property, the right equipment is the foundation of everything covered in this guide.
FAQ
How long does it take to install surveillance cameras yourself?
An 8-camera PoE system typically takes a DIY homeowner 2–4 hours to install. Professional installation of the same system takes 1–2 days.
What height should outdoor security cameras be mounted at?
Mount outdoor cameras at 2.5–3 meters above ground for the best balance of facial detail capture and vandal resistance. Mounting above 3.5 meters reduces image quality for identification purposes.
Do I need to change the default password on my security camera?
Yes. Default admin credentials are actively scanned by attackers and must be changed immediately after setup. Enable two-factor authentication on your app and NVR interface as well.
Can I install security cameras without running cables?
Wireless cameras eliminate cable runs but require a Wi-Fi signal of at least -70 dBm at the installation location. Weak signals cause recording gaps and frequent disconnects.
How many days of footage should my system store?
Set your NVR to retain footage for 14–30 days. That range covers most insurance claim windows and balances storage capacity with review needs.
Recommended
- DIY Home Surveillance Guide for Homeowners in 2026 – Safes and Security Direct
- Step by Step Home Surveillance Guide for Homeowners – Safes and Security Direct
- How to Set Up Home Security Camera System 2026 – Safes and Security Direct
- Homemade Surveillance: Best DIY Security Tips – Safes and Security Direct