

Keep Your Coax: Hybrid Analog to IP Upgrade for Installers
Most sites do not need a full rip-and-replace. The pragmatic path is a phased hybrid migration: keep healthy coax alive with encoders or hybrid recorders, run everything through one centralized VMS, and reserve full IP camera replacement for spots that genuinely need native 4K, edge analytics, or PoE. Start with an infrastructure audit before you spend a dollar on hardware.
TL;DR:
- Most site upgrades benefit from a phased hybrid migration, keeping existing coax infrastructure while gradually adding IP cameras and encoders.
- Conducting a thorough infrastructure audit, including cable conditions and camera parameters, reduces costly rework and ensures a smoother transition.
- Multi-channel encoders and hybrid NVRs are ideal for sites with clustered coax runs or multiple cameras, while full IP replacement is necessary for 4K or advanced analytics needs.
- Compatibility checks for ONVIF Profile S and RTSP streaming are crucial to ensure encoded feeds work reliably with the existing VMS platform.
- Power, bandwidth, and storage requirements must be carefully planned to avoid budget overruns, especially when scaling for remote access or high-resolution streams.
Table of Contents
- What Does an Analog to IP Upgrade Actually Involve?
- How Do You Audit Your Existing Camera Infrastructure?
- Which Encoders and Converters Actually Work in the Field?
- When Should You Replace Cameras Instead of Encoding Them?
- Will Your VMS Actually Play Nice With Encoded Feeds?
- How Much Power, Bandwidth, and Storage Does the Upgrade Need?
- What’s the Right Order of Operations for a Site Migration?
- What Belongs in the Training and Handover Package?
- Safes and Security Solutions’ Field Perspective on Hybrid Upgrades
- Ready to Build Your Pilot Kit?
- Sources
What Does an Analog to IP Upgrade Actually Involve?
An analog to IP upgrade means moving your video signals from coax based CCTV into a network camera environment, either by converting existing analog cameras into IP streams or by swapping hardware outright. There are three real paths, and picking the wrong one wastes both cabling and budget.
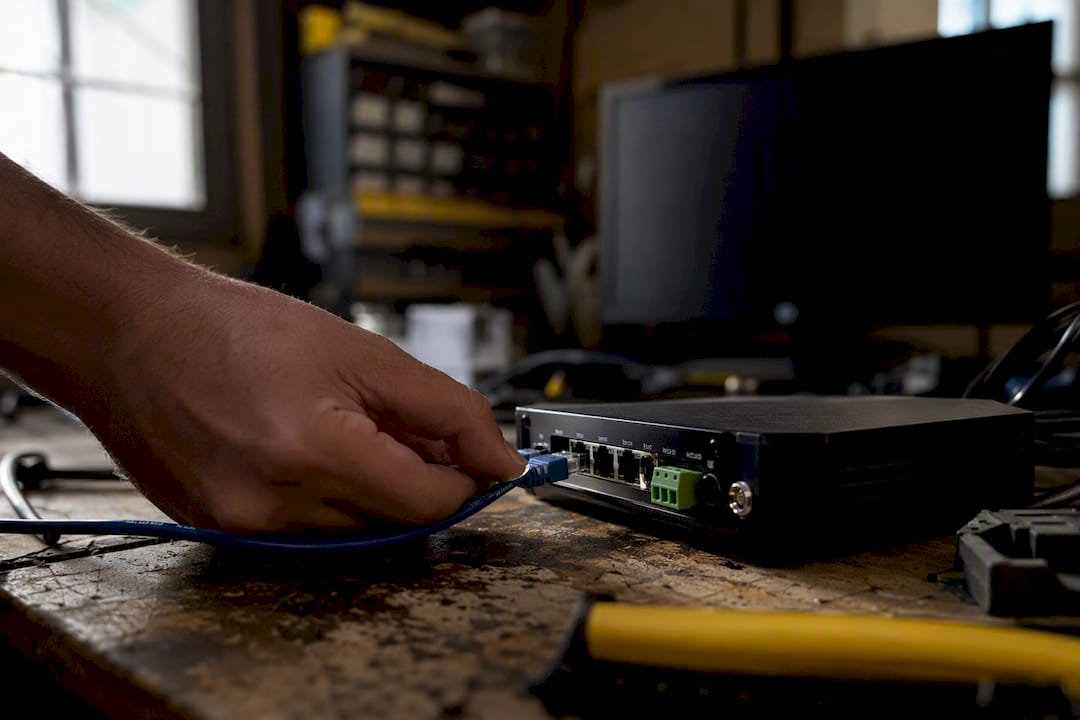
Encoders take multiple analog cameras and convert their composite signal into IP streams the VMS can manage like any network camera. Hybrid DVR/NVR platforms run analog and IP channels side by side on one recorder, useful when you’re adding a handful of IP cameras to an existing analog system rather than converting the whole site. Full IP replacement swaps analog cameras for network cameras entirely, discarding coax in favor of Ethernet and PoE.
- Single-channel converters: cheapest entry point, best for isolated cameras far from a cluster, but painful to manage at scale
- Multi-channel encoders (4 to 16 channels): the sweet spot for sites with clustered coax runs in good condition, since they centralize management and cut per-camera cost versus a structured rewire
- Hybrid NVRs: right for gradual buildouts where you’re adding a few IP cameras without touching the analog backbone yet
- Full IP replacement: right when a site needs native 4K resolution, onboard analytics, or straightforward PoE runs
Small single-building sites with fewer than a dozen cameras often do fine with one hybrid recorder. Multi-site operations with dozens of legacy cameras per location almost always come out ahead with rack-mounted multi-channel encoders, because centralized licensing and swap-in maintenance scale better than juggling converters camera by camera.
How Do You Audit Your Existing Camera Infrastructure?
You cannot pick a migration approach responsibly without knowing what’s actually running through your walls. An audit takes a few hours per site and saves weeks of rework later.
- Map every camera on a floor plan and group them by physical cluster, noting which runs share a conduit or head end.
- Record the cable run length for each camera back to its DVR or patch point.
- Test each signal with a video tester, checking for sync loss, ghosting, or intermittent dropout that signals cable degradation.
- Inspect every BNC connector and ground point. Corroded connectors are the single most common cause of “bad camera” diagnoses that are actually bad connections.
- Log camera models, resolutions, and PTZ protocols (Pelco-D, Pelco-P, or proprietary) for each unit that pans, tilts, or zooms.
- Confirm power source per camera: local 12V/24V transformer, or power over a separate run.
- Check your current DVR or VMS for ONVIF export or integration options, and confirm how many days of retention you need to preserve.
- Estimate labor cost per run if a rewire becomes necessary, since this number is what ultimately decides encoder versus replacement.
Pro Tip: Run the video tester test even on cameras that look fine on the monitor. Marginal signal degradation often doesn’t show up until you compress the feed through an encoder, and catching it during the audit is far cheaper than a truck roll after installation.
Which Encoders and Converters Actually Work in the Field?
Not all encoders are created equal, and the spec sheet rarely tells you what matters most in daily operation.
Look for ONVIF Profile S support and RTSP streaming as non-negotiables. Without them, your encoder won’t talk cleanly to most VMS platforms, no matter how good the picture looks on the vendor’s own viewer. Codec choice matters too: H.265 typically cuts bandwidth by roughly 30 to 40 percent compared with H.264 at similar quality, but only if your VMS or client software actually decodes it. Test before you commit a whole site to H.265.
- Single-channel units suit isolated or remote cameras where running a dedicated box makes sense
- Multi-channel rack encoders (8 or 16 port) work best for clustered coax where centralized power and rack space already exist
- Confirm PTZ protocol pass-through if you have dome cameras. Some budget encoders drop Pelco-D commands entirely
- Check firmware update methods before buying. A converter that can only be updated by physically shipping it back is a liability two years from now
Typical budget bands: a single-channel encoder runs $120 to $220, a 4-channel unit lands between $320 and $580, and 16-channel rack encoders run $1,100 to $2,300. Those ranges make the math on a 20-camera site straightforward before you ever call a distributor.
Before buying any converter, verify RTSP stability by opening the stream in VLC for a sufficient period and steer clear of cloud-dependent models that require a vendor’s app to view local footage.
When Should You Replace Cameras Instead of Encoding Them?
Encoding buys time, but it doesn’t buy capability. Some situations call for pulling the analog camera and installing a real IP unit instead.
- You need native 4K resolution or onboard video analytics (line crossing, loitering, license plate capture) that an encoded analog feed simply cannot deliver
- The camera itself is failing, not just the cabling. Frequent lens fog, IR ring failure, or intermittent image loss means the hardware is done regardless of what’s on the other end of the coax
- Coax runs show consistent degradation on your video tester, in which case running new Cat6 for PoE may cost about the same as replacing the coax anyway
- The location is high-risk or high-value: entrances, cash handling areas, loading docks. Prioritize replacement there first and leave lower-risk interior hallways on encoders longer
As a rough comparison, encoding an existing camera might run $30 to $60 per channel in hardware once you divide a multi-channel encoder across its ports, while a full IP camera swap with PoE cabling often lands in the $150 to $400 per camera range depending on cable run length and camera grade.
Will Your VMS Actually Play Nice With Encoded Feeds?
An encoder that works perfectly on the bench can still fail in your VMS if compatibility wasn’t verified first. This is where a lot of otherwise solid migrations stall out.
- Confirm ONVIF Profile S support specifically, not just “ONVIF compatible” marketing language, and run a live discovery test inside your actual VMS before ordering more than one unit
- Trigger a motion event on each encoded channel and confirm the VMS registers it with correct timestamps and metadata, not just a raw video feed
- If you rely on analytics plugins (license plate recognition, people counting), test that plugin against the encoded stream specifically, since some analytics engines behave differently on transcoded video than on native IP camera output
- Check your VMS vendor’s hardware compatibility list and confirm whether adding encoded channels affects your camera licensing count or costs extra per channel
Done right, encoded analog channels behave identically to native IP cameras for motion detection and map-based alerts inside most modern VMS platforms, as long as the encoder exposes ONVIF and holds a stable stream.
Pro Tip: Test one encoder on one channel in production for a full week before ordering the rest of the units for a site. A firmware quirk that only shows up under real network load is far cheaper to discover on one camera than on sixteen.
How Much Power, Bandwidth, and Storage Does the Upgrade Need?
Getting this wrong is the fastest way to blow a project budget after the fact, since power and storage costs compound across every camera on the site.
- Budget PoE power per camera generously. A basic fixed IP camera draws around 6 to 8 watts, while a PTZ with heater and wiper can draw 30 watts or more, and your switch’s total PoE budget needs headroom, not a tight fit
- Put critical recorders and PoE switches on a UPS rated for at least 15 to 20 minutes of runtime, enough to ride out a brief outage or trigger a clean shutdown
- Bandwidth per camera varies with resolution and codec. A 1080p stream on H.264 might run 2 to 4 Mbps, while the same scene on H.265 often drops to roughly 1.2 to 2.5 Mbps, a direct result of that 30 to 40 percent compression gain
- Size storage with a simple formula: bitrate (Mbps) × 3,600 × 24 × retention days ÷ 8 = gigabytes needed per camera, then multiply across your camera count
- If the site depends on remote monitoring, plan a cellular failover for the WAN link. A single point of internet failure defeats the purpose of the upgrade
What’s the Right Order of Operations for a Site Migration?
Run this sequence per cluster rather than across an entire facility at once. It keeps downtime localized and gives you a clean rollback point if anything goes sideways.
- Back up existing DVR footage and confirm your retention requirement is documented before touching any hardware.
- Choose a single cluster or building wing as your pilot rather than converting the whole site simultaneously.
- Install one encoder or hybrid NVR on the pilot cluster and confirm RTSP stability in VLC for at least ten minutes per channel.
- Verify PTZ control end to end, including pan, tilt, zoom, and preset recall, through the VMS interface itself, not just the encoder’s local tool.
- Confirm the VMS discovers each channel via ONVIF and that motion events log correctly with accurate timestamps.
- Once the pilot proves stable for several days, scale to additional clusters using the same encoder model or hybrid NVR configuration.
- Run an evidence export test, pulling a clip from an encoded channel exactly as your team would for an actual incident request.
- Document a rollback plan: keep the original DVR powered down but connected until the new system has proven itself for at least two weeks.
What Belongs in the Training and Handover Package?
The migration isn’t finished when the last encoder is racked. Someone still has to run this system next month without you on site.
Handover documentation should include a full device inventory with IP addresses, RTSP URLs, and any changed default credentials, since default passwords left in place are a common vulnerability on new IP deployments. Separate the training into operator tasks (playback, export, PTZ control) from IT tasks (firmware updates, network troubleshooting, VMS licensing). A single 45-minute session covering both groups, repeated once more a month later after the team has used the system, tends to stick better than one long walkthrough on installation day.
Safes and Security Solutions’ Field Perspective on Hybrid Upgrades
Staged hybrid migrations win on cost and downtime because they let a site keep operating while the upgrade happens in the background, cluster by cluster, instead of one disruptive cutover weekend. That’s the practical reality most owners actually need, not the theoretical ideal of a same-day full replacement. Our product range is built around that reality: PoE NVRs and IP cameras that slot into a pilot cluster first, then scale once that pilot proves stable. The biggest mistake we see is skipping the audit and buying hardware based on camera count alone, without ever testing whether the coax underneath can even carry a clean signal.
— Safes and Security Solutions
Ready to Build Your Pilot Kit?
Safes and Security Solutions stocks the hardware this whole migration path depends on, from PoE NVRs built for continuous recording to standalone IP cameras for the spots that need a straight replacement rather than an encoded feed.

Whether you’re running a one-cluster pilot or scaling a multi-site rollout, the parts list looks the same every time: a PoE NVR sized to your channel count, PoE switches with real power headroom, and IP cameras for the highest-risk locations you flagged during the audit. If you’re timing the upgrade around a broader renovation, the smart-home integration guidance from Uni Construction’s ADU project resources is worth a look for staging camera work alongside other build phases. And if the same property still relies on an older safe for cash or document storage, pairing that upgrade with a UL-listed fire safe closes a gap most security audits catch too late.
Send us your camera count, cluster layout, and retention needs, and we’ll put together a custom parts list or quote so your pilot cluster is ordered right the first time.